The Future of Cross-Chain NFTs
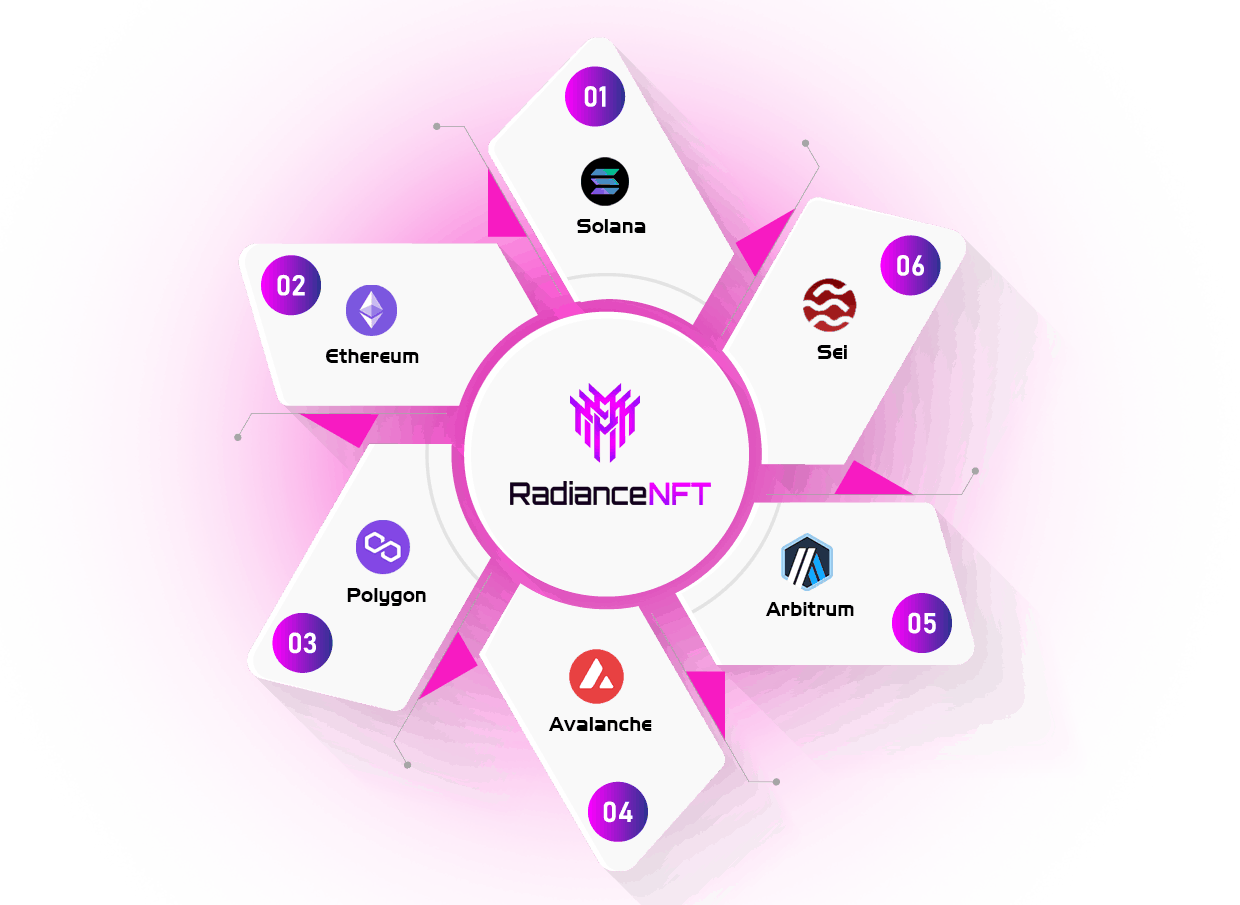
As blockchain technology matures, cross-chain NFTs will become the norm, fostering collaboration and creativity across ecosystems. Projects like Polygon, Avalanche, Cosmos, and Solana are already paving the way for seamless interoperability. The rise of cross-chain solutions means greater flexibility, lower costs, and expanded opportunities for NFT creators and users alike.
How to Create Your First Cross-Chain NFT
Creating your first cross-chain NFT may sound complex, but with the right tools and steps, it becomes a straightforward process. Here's a simple guide:
Step 1 : Choose a Cross-Chain NFT Platform
Select a platform that supports cross-chain functionality, such as Rarible, Mintable, or OpenSea, paired with blockchain bridges like Wormhole or AnySwap for cross-chain transfers.
Step 2 : Set Up Your Wallet
Use a multi-chain crypto wallet like MetaMask or Trust Wallet. Ensure your wallet is compatible with the blockchains you plan to use (e.g., Ethereum, Binance Smart Chain, Solana).Fund your wallet with enough cryptocurrency to cover minting and transaction fees.
Step 3: Select Your Preferred Blockchains
Decide where to mint your NFT and which chains you want to transfer it to.
Step 4 : Create and Mint Your NFT
-
Log in to your chosen platform.
-
Upload your digital asset (image, video, music, etc.).
- Fill in details like title, description, and any metadata.
-
Choose your initial blockchain (e.g., Ethereum) and mint the NFT.
Step 5: Enable Cross-Chain Functionality
Use a blockchain bridge (e.g., Wormhole for Ethereum-Solana or Binance Bridge for Ethereum-Binance Smart Chain).
Connect your wallet and select the NFT to transfer.
Choose the destination blockchain and complete the transfer.
Step 6: Verify and Trade
Once transferred, check your wallet to confirm the NFT is available on the new blockchain. List it for sale or trade on marketplaces supporting the destination blockchain.